2014 Maker Faire New York

I recently attended the 2014 Maker Faire in New York. Over the weekend, September 26-27, 85,000 people attended the event to see 830 exhibits, presentations, performances and attractions. On display was an astonishing array of offerings from young entrepreneurs to large corporates; including countless 3D printers, a portable laser cutter, a flat pack CNC foam cutter and inject printer for electrical circuits. 3D Printings was a popular highlight at the show. Dremel launched its new mass market 3D printer, a 3D-printed fully-electric car was unveiled, as was a 3D delta printer machine capable of printing parts over 4.5 meters high. For me, a modest project caught my eye. An African 3D printer made primarily from e-waste. Miles

KnifeGuard – 3D printing in a design process

The design development of KnifeGuard is an example of an efficient and effective design process utilising low-cost 3D printing.

KnifeGuard is a new product designed by Miles Park and tested by our first year Industrial Design students. The product is now being manufactured in volume and will be distributed by Draftex

The product was developed in response to a need for an improved finger safety shield for use when cutting with a steel straight edge and utility knife.

3D printing enabled a range design concepts to be prototyped accurately and efficiently. These initial prototypes were built in ABS plastic, reflective of material qualities envisaged for the production pieces, and without the need of a workshop.

In addition, 3D printing enabled the batch production of 65 KnifeGuard prototypes. These were disturbed to year 1 students as part of their technical materials pack.

The design went through further refinements and a final prototype was 3D printed for approval for mass production.

Screen Shot 2014-02-07 at 3.37.22 PM Knifeguard render IMG_0951

IMG_0927

UP+ 2 and mac software challenges

The Up+ printer is a great little machine that prints robust models in ABS. But, the user experience could do with some refinement. The machine flashes and beeps like a cheap child’s toy, and has none of the theatre such as the subtle blue lighting of the MakerBot Replicator 2 or the sci-fi ‘R2D2’ voice of the Ultimaker servo motors. But these are minor gripes.

The biggest gripe is the Mac printer slicing software. The latest UP print software for Mac just refuses to load on the various Macs that I have access to. A workaround solution is to use software from Afinia – which does work on some macs. (Afinia is a rebranded UP+ for the North American market.)

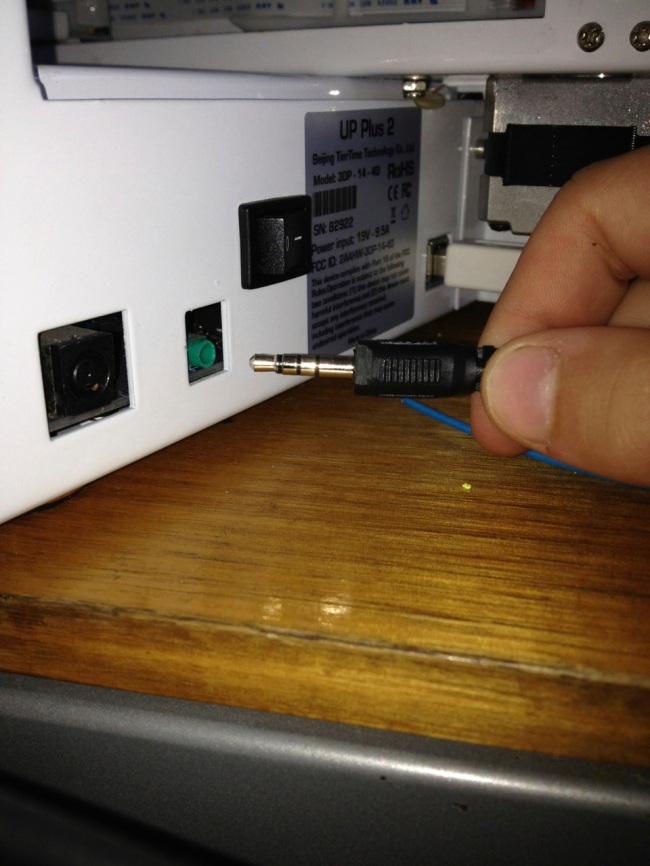
One advantage of the latest print software is that it enables the printer to self-calibrate and level the bed. So with the software successfully loaded, the next challenge was to actually to get the machine to self-level ….. nothing happening! Fortunately, this is a common problem that can be solved by trimming a side of the sheath of the calibration cable mini-jack to remove interference, when plugged in, with the printers case. [see pic].  The value of a help forums and blogs are vital to keep these machine working!

Image


Form 1: first impressions

The overall product and software of the Form 1 is a very impressive package. The printer itself is beautifully detailed and proportioned form, in addition to its clean and intuitive layout for ease of use. Likewise, the software is equally well formed and a delight to use, espically compared to the clunky and buggy UP+ printer software. The Form 1 development team obviously have a talented design team who understand the value of creating a good user experience. This is an outstanding achievement, give that this is the first production model of the Form 1 and the first low-cost stereolithography machine on the market. Again a credit to the team behind its development.

The form 1 has a default resolution of 0.05mm! An extraordinary fine tolerance which promises ‘step’ free surfaces as usually accepted with the filament based printers that we have been testing over the last few years. The less than ideal aspects of this printer are the finishing kit and post print processing. Removing the support material can be tedious and time consuming, as well as using, proportionally, a fair bit of the expensive resin. The clear resin that comes with the product has thankfully a low VOC with slight almond scent, and sets clear with a slight flex. However, parts soon yellow and harden when exposed to sunlight. 

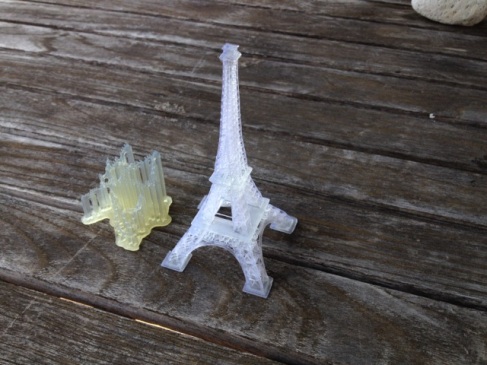
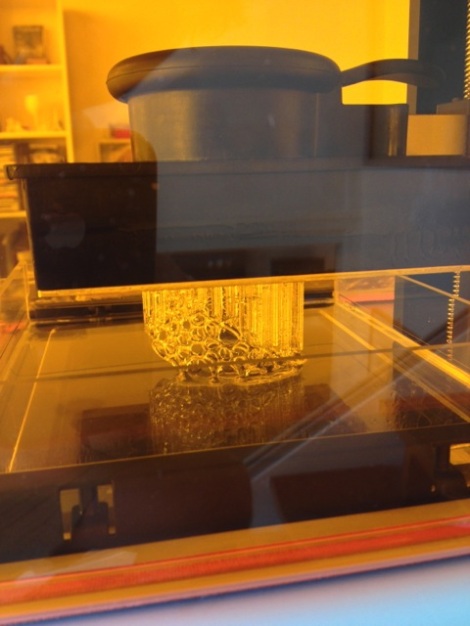
Initial test prints included the Eiffel Tower to see how the lattice structured would render and a Bracelet to see how organic forms render.ImageImageImage